We decided since we enjoy beer so much that we should try to brew our own! After reading some blogs and forums and watching some beginner videos, I went on Amazon and bought a whole slew of things needed to start:
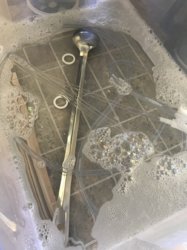
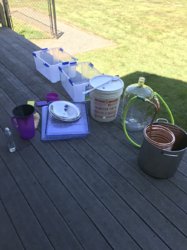
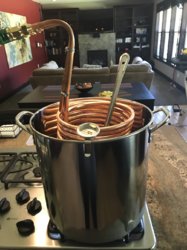
We spread out the process over the whole weekend. A run to the store to get some last minute containers and a pitcher, then the initial cleaning done with fragrance-free dishsoap, then a boil with the kettle, spoon and wort chiller on Saturday:
Then on Sunday we started the "Brew Day" process around 11am.
Sanitize EVERYTHING:
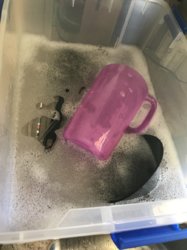
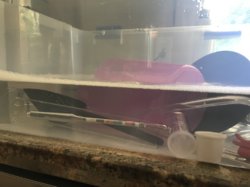
Get the pot going with 4 gallons of water, up to 170 degrees to soak the malt grains:
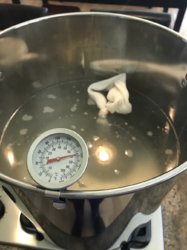
Then up to a full rolling boil to add the liquid and dry malt extracts (all the malt smelled like soggy cornflakes to me):
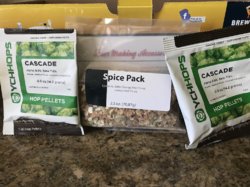
Then incrementally we added the hops and spice pack over the next 55 minutes of boiling
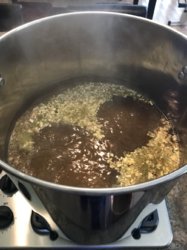
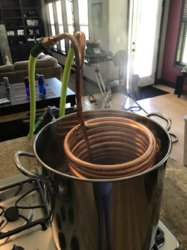
In the last 10 minutes of the boil we dropped in the wort chiller (with no cold water running through it yet) to get it boiled and sanitized. Then shut off the heat and pumped in the cold water through the copper coils to bring the wort down to room temperature (about 70 F). It was weird having garden hoses running through the inside of the house.
The next part of the process was not photo-documented as it was sort of a pain in the ass. We couldn't get our siphon running since I failed life and forgot to order an auto-starting one. So we had to use a tiny pitcher, a strainer and a funnel to get the wort into the carboy.
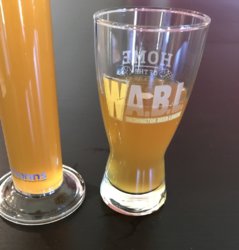
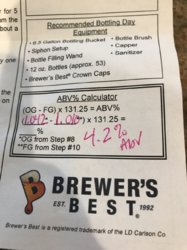
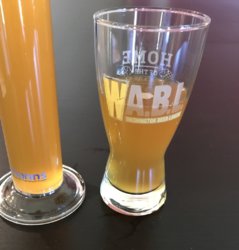
Once in the goliath of a glass bottle, we added a gallon of water then poured some into a graduated cylinder to take the gravity reading. OG was right on point at 1.042!
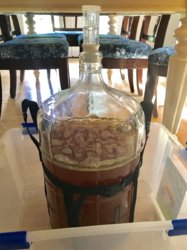
Added a packet of yeast, popped on the plug and airlock, and sent it to its home for the next 2 weeks: under our dining table! The temperature should be good in there between 68-70 degrees F and no direct sunlight.
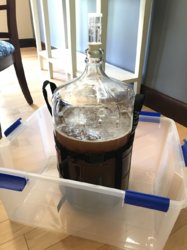
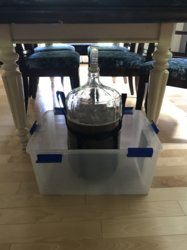
The whole process took until about 3pm. Now we wait. The airlock is bubbling just like it's supposed to.
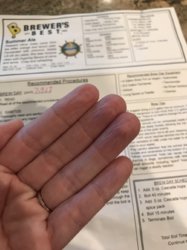
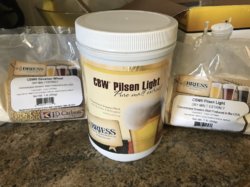
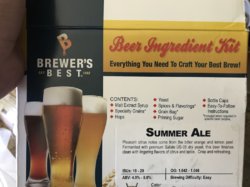
Oh, and this is the brew we bought, perfect for summertime:
I'll update here when bottling day comes!
Feel free to share your notes and experiences in this blog thread if you like! I'm really hoping this turns out good and would like to make this a continuing hobby.
Brew kit with bucket, carboy, airlock, siphon, hydrometer, bottle capper, cleaner, etc. (hydrometer was cracked, siphon wasn't auto starting, doh. I just ordered an auto one so we'll have it for bottling day.)
better Hydrometer than what came in the kit
6.5 gallon Stainless brew kettle pot thingo
StarSan sanitizer
Thermometer
Bottles and Bottle capper (the one included in the set had bad reviews)
Carboy handles
Wort chiller
Giant spoon lulz it's huge
Whirlfloc tablets (which ended up not being in the instructions in the brew box)
And of course an all inclusive box of brew ingredients.
We spread out the process over the whole weekend. A run to the store to get some last minute containers and a pitcher, then the initial cleaning done with fragrance-free dishsoap, then a boil with the kettle, spoon and wort chiller on Saturday:


Then on Sunday we started the "Brew Day" process around 11am.
Sanitize EVERYTHING:


Get the pot going with 4 gallons of water, up to 170 degrees to soak the malt grains:

Then up to a full rolling boil to add the liquid and dry malt extracts (all the malt smelled like soggy cornflakes to me):

Then incrementally we added the hops and spice pack over the next 55 minutes of boiling


In the last 10 minutes of the boil we dropped in the wort chiller (with no cold water running through it yet) to get it boiled and sanitized. Then shut off the heat and pumped in the cold water through the copper coils to bring the wort down to room temperature (about 70 F). It was weird having garden hoses running through the inside of the house.

The next part of the process was not photo-documented as it was sort of a pain in the ass. We couldn't get our siphon running since I failed life and forgot to order an auto-starting one. So we had to use a tiny pitcher, a strainer and a funnel to get the wort into the carboy.
Once in the goliath of a glass bottle, we added a gallon of water then poured some into a graduated cylinder to take the gravity reading. OG was right on point at 1.042!
Added a packet of yeast, popped on the plug and airlock, and sent it to its home for the next 2 weeks: under our dining table!


The whole process took until about 3pm. Now we wait. The airlock is bubbling just like it's supposed to.
Oh, and this is the brew we bought, perfect for summertime:

I'll update here when bottling day comes!
Feel free to share your notes and experiences in this blog thread if you like! I'm really hoping this turns out good and would like to make this a continuing hobby.


